
How Do 3D Printers Build Objects Layer by Layer?
3D printers turn digital designs into physical objects layer by layer. Discover how slicing, melting, and curing make additive manufacturing work.
Key takeaways
- A 3D printer never sees a whole object: slicing software divides the digital model into hundreds of thin 2-D layers it builds one at a time.
- The most common method, FDM, melts plastic filament and squeezes it through a heated nozzle, letting each layer cool and bond to the last.
- Supports act as temporary scaffolding for overhangs, and the part's orientation on the build plate decides surface quality and where they go.
- Chuck Hull invented stereolithography in 1983 after working with UV-cured resin coatings; his first printed object was a small plastic cup.
- Because extra complexity costs nothing, NASA once consolidated a 150-part assembly into a single 3D-printed unit.
A 3D printer builds objects the way you might stack pancakes into a sculpture: it slices a digital design into hundreds of paper-thin cross-sections, then recreates each slice in material — melted plastic, hardened resin, or fused powder — one on top of the last. Stack every slice and a flat drawing becomes a solid thing. The whole trick is turning a 3D shape into 2D slices a machine can follow.
Why build an object one layer at a time?
Picture carving a chess knight out of a wooden block. Most factory processes work that way: they start with something solid and remove material — cutting, drilling, milling — until the shape they want is all that remains. Engineers call that subtractive manufacturing. A 3D printer does the exact opposite. It starts with nothing and adds material only where the design calls for it, one thin layer at a time. That is why the formal name for the process is additive manufacturing: the part is added into existence rather than carved out of a block. Before anything prints, the object has to exist as a digital 3D model, usually drawn in CAD (computer-aided design) software. The model is exported as an STL file, which translates the smooth design into a mesh of tiny triangles. Then comes the step that gives the technology its name: a program called a slicer divides the model into hundreds — sometimes thousands — of flat cross-sectional layers and writes the machine instructions, a language called G-code, telling the printer exactly where to move, how fast, and how much material to deposit for each slice. The most important setting is layer thickness. Thicker slices print quickly but leave coarse, visible ridges. Thinner slices take longer but come out smoother and sharper. Slicing a tall object into hair-thin layers can mean thousands of individual passes, each taking its place on the last. Every print is a trade-off between speed and finish, and the printer lets you choose.
Where did the idea come from?
The story begins with a man tinkering with tabletop coatings. In the early 1980s, engineer Chuck Hull worked at a California company making protective resin coatings for tables — coatings that hardened instantly under ultraviolet light. One late night in 1983, Hull wondered whether he could stack thin cured layers of that resin to build something three-dimensional. He could: the first object ever 3D printed was a small plastic cup, formed by layering two-dimensional slices of liquid plastic hardened with UV light. Hull patented the process — stereolithography — in 1986 and founded 3D Systems to sell it. The company's first commercial machine, the SLA-1, reached customers in the late 1980s. At first the technology had one job: rapid prototyping. A car company could test a new part overnight instead of waiting weeks for a machined prototype. Then the idea spread. In 1988, Scott Crump developed fused deposition modeling and founded Stratasys — the technology behind most home printers today. When key FDM patents expired in 2009, a wave of affordable machines from new makers brought 3D printers to hobbyists, schools, and workshops. Hull's once-niche process grew into industries from aerospace to medicine, where custom devices built from a patient's own scans are now routine. The name itself borrows from an older revolution in making copies — the printing press that broke the monopoly on knowledge.
How does the printer actually lay down each layer?
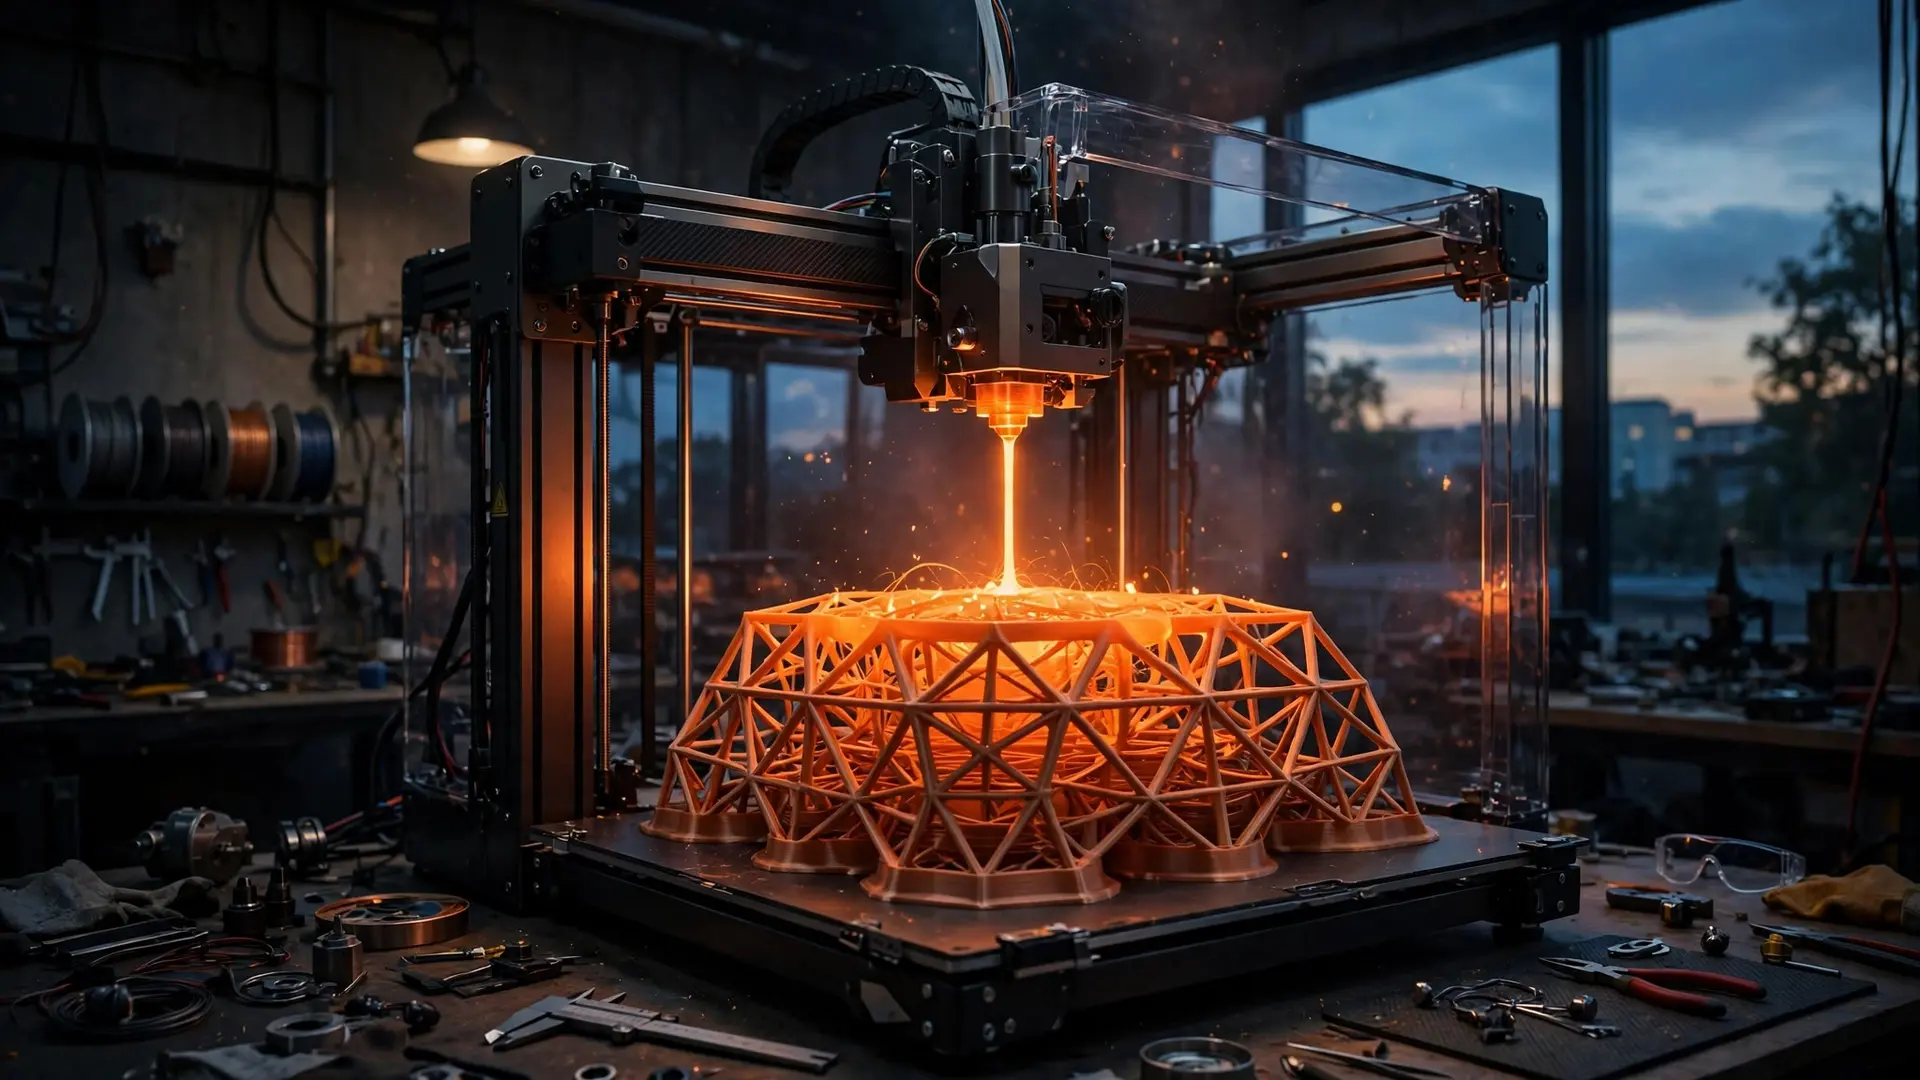
The most common desktop method is fused deposition modeling, or FDM, and it works a lot like a very precise hot-glue gun. A spool of plastic filament — made from the same family of thermoplastics used for everything from toy bricks to car bumpers — feeds into a heated nozzle that melts it. The nozzle glides across the build plate, squeezing out molten plastic in the exact pattern of the current slice. The plastic hardens as it cools, bonding to the layer below. Popular filaments include PLA, which is easy to work with, ABS, which is tougher and more heat-resistant, PETG, which sits between the two, and TPU, a flexible, rubber-like plastic. A second method, stereolithography (SLA), skips the nozzle entirely. The build platform dips into a vat of liquid resin, and ultraviolet light cures one thin layer at a time. Because light draws finer detail than an extruded thread of plastic, resin printers produce noticeably smoother, sharper parts — ideal for miniatures, jewelry, and dental models — though the prints need washing and a final UV cure afterward.
A third approach, selective laser sintering (SLS), works with powder. A thin coat of nylon powder is spread across the build area, and a laser fuses the grains wherever the current slice calls for solid material. The unfused powder cradles the part as it grows, and at the end the object is simply lifted out of the powder bed. All three look different, but underneath they are the same trick: turn the design into slices, then make each slice real. No matter how exotic the technology, the design is sliced into layers before printing begins.
Why do 3D printers need scaffolding?
Here is the catch: a printer cannot deposit plastic into thin air. Any part of the design that juts sideways — an overhang, an arch, the underside of a bridge — needs something beneath it while the layer hardens. So slicing software adds support structures: temporary scaffolding, printed from the same or similar material, that holds up the floating parts. After the print finishes, you break or dissolve the supports away. How you position the part matters for the same reason. Standing a curved object on end versus laying it flat changes which faces come out smooth and where supports are needed. The ribbed texture of printed objects — those faint layer lines — shows most on downward-facing surfaces, and picking the right orientation is part skill, part experience. This constraint is also where 3D printing shows its superpower: complexity comes free. In a factory, a hollow part with internal channels would need multiple tools, careful assembly, and rising cost for every added feature. On a 3D printer, an intricate design costs nothing more than a simple one — the machine just follows a different slice pattern. NASA's Marshall Space Flight Center once took an assembly of more than 150 separate parts and consolidated it into a single 3D-printed unit, eliminating fasteners, joints, and assembly steps in one stroke. A common misconception is that a 3D printer can make anything in minutes. The truth is slower: large, dense objects can take days, and printed parts are usually weakest at the layer boundaries — pull one apart and it tends to split between layers, not through them. But what the layer trick really delivers is freedom. Just as the steam engine kicked off the industrial revolution, these machines let a sketch become a physical object with no tools, no molds, and no factory. The humble cup Hull printed that night in 1983 was proof that a machine could build the world one slice at a time.
Frequently asked questions
What does additive manufacturing mean?
It means the object is built by adding material only where it is needed, layer by layer — the opposite of carving or milling, which remove material from a block.
Why do 3D printed objects have visible lines?
Each thin layer leaves a tiny ridge, like the edge of a pancake in a stack. Thinner layers make the lines subtler but slow the print down.
Do 3D printers need glue between layers?
No. In FDM printing, the freshly melted plastic bonds to the cooling layer below on contact; in resin printers, ultraviolet light hardens each layer to the last.
How long does a 3D print take?
Anything from minutes for a small part to days for a large, dense one. Thicker layers speed things up but reduce detail and finish quality.